Redmond Hunt Blog
Quick Guide to Understanding Trail Camera Settings
Redmond Hunt August 3, 2023
Trail camera settings can be confusing. What are the different modes and when should they be used? Here are 10 exciting trail camera features to know about.
In this post, Andrea Rothove—avid hunter, outdoor enthusiast, and hunting instructor—talks about common trail camera settings. Andrea is the founder of Huntress View, a hunting website and blog that helps women learn about hunting and the outdoors from other women. She also works for Browning Trail Cameras. Here Andrea shares tips about the best trail camera settings on most cameras and what situations to use them.
10 Common Trail Camera Settings and Tips
Trail camera technology has greatly improved over the years and there are more settings and features than ever before, often packed into just one trail camera! Burst Mode, Timelapse Mode, videos with sound, adjustable trigger speed, and more. But what does it all mean and what are the best scenarios for using these different modes? Below, I’ll share ten of the most common trail camera features, expand on some of the more advanced features, and give tips on unique situations each of the settings are best used for.
1. Photo Mode
This is the most common and basic setting that all game cameras have. This mode will take still images of animals during both day and night when triggered by movement in front of the camera.
Scenario: This is great for any type of trail camera use, whether you’re using it for hunting purposes, surveillance, or just leisure.
2. Video Mode
Another setting almost all trail cameras now have is video mode. This mode takes video clips of animals during both day and night when triggered by movement in front of the camera. The length of the video usually depends on what you choose to set it on: 5 seconds, 30 seconds, etc.
Scenario: Video mode is great when you want to get a little more intel than a still image can provide. For example, if you get a video of a whitetail buck in deer season close to the rut, a video with sound allows you to get a better idea of the buck’s behavior. Was he grunting, casually strolling by the camera, possibly chasing a doe?
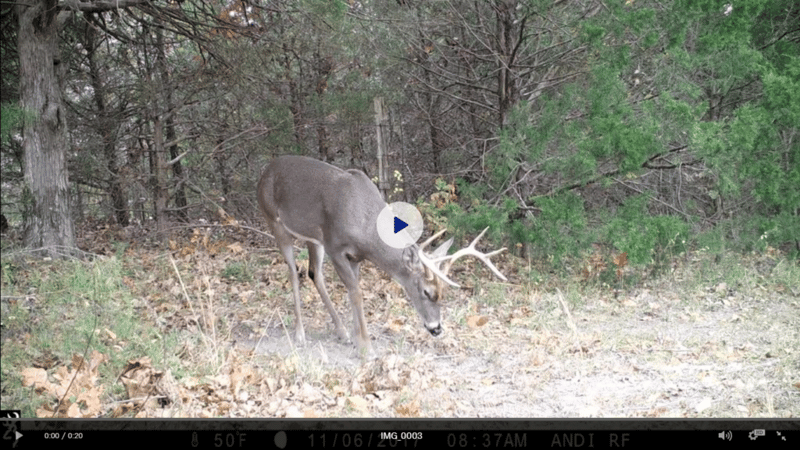 Video mode setting on a game camera captures a whitetail buck pawing the ground in the woods.
3. Smart IR Video
This feature allows a daytime video clip to keep recording as long as the game camera detects movement during filming. If the camera no longer detects movement, it will end the video clip at the designated time chosen in the setup menu.
Scenario: This feature is great to better observe an animal’s behavior if they’re in front of the camera longer than you have it designated to take a video clip. It’s also great in a surveillance situation. For example, say you have your camera set up to take a ten-second video every minute. If someone were to be trespassing or breaking into your home, chances are they’ll be in front of the camera longer than the ten seconds. Instead of waiting for the camera to take another video if it detects movement again in one minute, the camera in Smart IR Video mode will continue to record. In this scenario, you’ll likely get better identifying information of the trespasser than in regular video mode.
4. Timelapse & Timelapse+ Feature
A time lapse feature on trail cameras will take images throughout the day based on a selected interval of time. For example, if you have it set to take an image every ten seconds in Timelapse mode, it will take an image every ten seconds throughout the day, regardless of whether there is movement in front of the camera. These images can then be viewed via software provided by the trail camera company that allows you to quickly view the images in chronological order similar to watching a video.
Browning Trail Cameras also has a Timelapse+ Mode, which operates the same as described above, but it will also take a picture when anything crosses the camera’s detection zone, as if it were in normal photo mode.
Scenario: Timelapse and Timelapse+ mode is perfect to use when you need to watch a larger area, like a wide-open field. In this mode, you can catch images of animals out in the field that are outside of the camera’s detection zone and not know that they were there otherwise. This is great for deer hunters determining where to hang a game camera in photo or video mode, where to set up a tree stand or ground blind, etc.
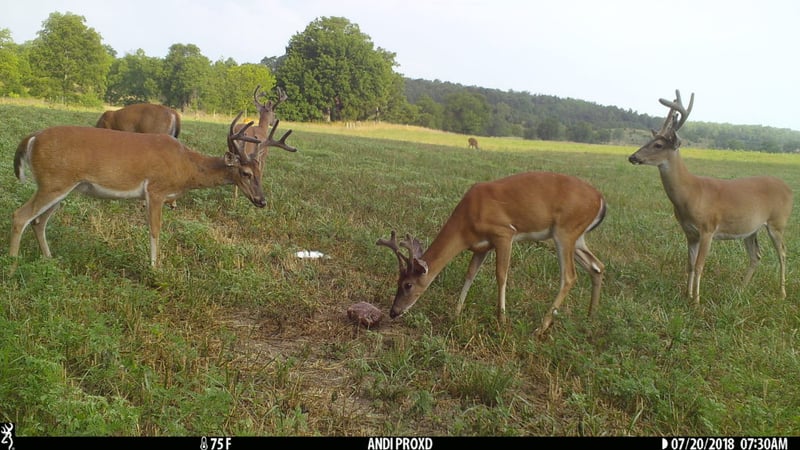 Trail cam captures a group of bucks in summer gathered around a Redmond Trophy Rock.
5. Burst Mode
This setting is used while in photo mode, but instead of taking just one image when the camera is triggered, it will take multiple images. For example, Browning Trail Cameras has a “Rapid Fire” setting that, when selected, will take up to eight images (the number of images is determined by you) when the camera is triggered, instead of just one.
Scenario: Burst mode is great when you place a game camera in a location that you expect animals to be moving quickly through the camera’s detection zone and you would like to get more than just one image of them for better intel. A location where an animal will be feeding and could be in front of the camera for longer periods of time would not be a good option for this setting.
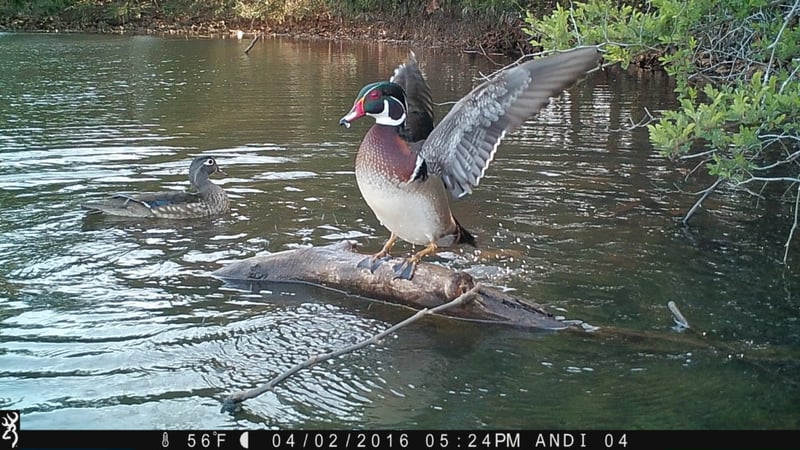 A Browning game camera snaps a wood duck alighting on a log in the pond.
6. SD Card Management
Browning Trail Cameras offers an SD Card Management feature that, when the SD card is full, the camera will begin to erase the oldest pictures or videos on the SD card and overwrite with the newer images or videos. This allows you to always have the most current images/videos on your SD card. If you choose not to turn this setting on, the SD card will no longer take images or videos once it is full.
Scenario: If you’re using your trail camera to scout for hunting purposes but you may not be able to make it back to the field to swap SD cards before it fills up, turning this feature on will allow you to always have the most current images and videos so you know the animal’s recent patterns and behaviors.
7. Adjustable Trigger Speed
Just like the name suggests, this feature allows you to change the trigger speed on your trail camera within a pre-determined range. For example, the Browning Recon Force Elite HP5 trail camera allows you to adjust the trigger speed from 0.1 to 0.7 seconds.
Scenario: You don’t always have to have a super-fast trigger speed in order to have a great image. Keep in mind the location of your camera when selecting the trigger speed. For example, slowing the trigger speed down a little to 0.7 seconds may be a better option for trail cameras over scrapes, minerals, and food sources where you expect animals to be coming in at a slower pace. If you expect animals to move through the detection zone more quickly, change it to the quicker 0.1 trigger speed.
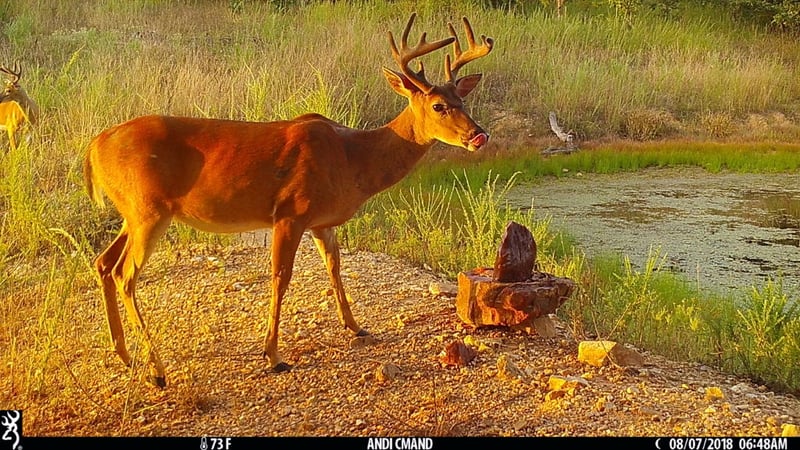 A whitetail buck still in velvet visits a mineral site with a Redmond Trophy Rock.
8. Adjustable Detection Ranges
Some trail camera models allow you to adjust the detection range as well as extend it out a little further to capture images of wildlife further away than what the preset detection zone will capture.
Scenario: Fields and more open areas are a good location for your trail camera when extending the detection range out further. A shorter length of detection range is great in the woods.
9. Adjustable IR Flash
Browning Trail Cameras offer two adjustable IR flashes on most of their trail camera models: Power Save and Long Range. This allows you to adjust according to your trail camera location. Power Save will produce an IR flash that is a little more dim and Long Range will extend the IR flash out further.
Scenario: When you place your trail cameras in the woods, Power Save IR flash mode works great because you are watching a smaller area with your trail camera. A field is the perfect location to set your trail camera’s IR flash to Long Range mode since it’s more open and you can see further.
10. Capture Timer
This feature allows the user, when operating the camera in Photo Mode or Video Mode, to select a start and stop time to control the time period the camera triggers and captures images/videos.
Scenario: Many turkey hunters use trail cameras to help scout for turkeys, but since turkeys roost at night, you won’t be getting any nighttime images of turkeys. In this instance, you could select your trail camera to begin taking images or videos at a selected time in the morning and have it stop at a selected time in the evening. This saves both battery life and SD card space!
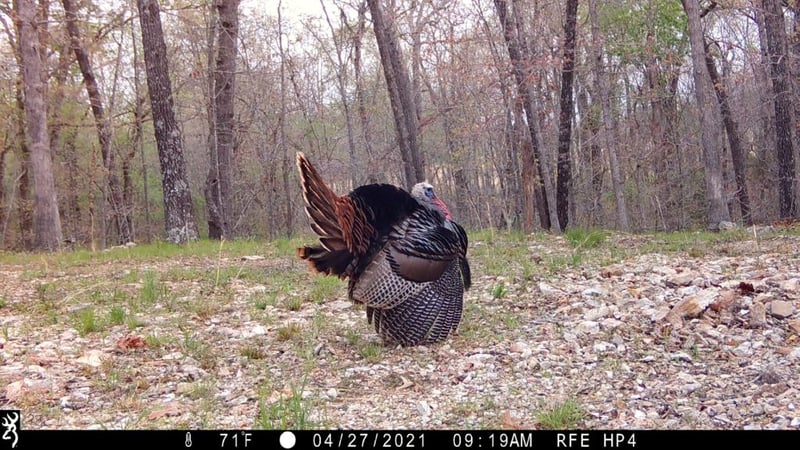 A male wild turkey struts and fans his tail in front of a trail cam.
Additional Cellular Trail Camera Features
Cellular trail cameras are extremely popular as well and have a few unique settings (aside from the ones mentioned above) that users should know about. Browning Trail Cameras’ Defender Wireless cellular camera has an app called Strike Force Wireless that allows you to change the camera’s settings directly through the app. The settings mentioned above are all included and can be controlled via the app, but there are a few different settings within the app that have to do with how and when you want to view the images/videos from your cellular camera.
1. Camera Sync Schedule
This allows you to choose the times that you want to have images/videos sent to your phone from your cellular camera. You can set up to eight different times for content to be sent to you via the Strike Force Wireless app.
2. Thumbnail Upload
This lets you choose whether to have your images/videos sent to you by the schedule you selected in the “Camera Sync Schedule” or sent to you “immediately.” If you select “immediately,” the images/videos will be sent to your phone in real time.
3. Categories
This is a great feature that allows you to create different image categories, such as “Whitetail,” “Turkeys,” etc. You can then select an image and add it to a corresponding category so you keep your images organized how you wish.
With so many different trail camera features being introduced as technology advances, it may seem a little overwhelming when choosing how and when to use each one. Hopefully my information above helps you when choosing which features to use when setting up your next trail camera, no matter the scenario!
By Andrea Rothove, Browning Trail Cameras representative and founder of Huntress View.
Got Trail Camera Problems?
We've got answers! Andrea and Isaac Boone with Redmond cover common trail cam issues and provide practical solutions to help you get the most from your camera. Find expert solutions to everything from placement to battery life and get tips on how to draw more deer to your camera. Click below to overcome your frustrations and own your trail cam site.
© Redmond Hunt 2023. All rights reserved.


.jpg)
