Redmond Hunt Blog
Harvest 101: How to Care for Deer After the Kill
Wondering what to do after you shoot a deer? We've got you covered! Learn how to field dress and gut a deer, cape deer for a mount, and process deer meat.
Let's say it’s deer hunting season and you just tagged a nice buck in your corner of the woods. Congrats are in order! If you’re new to the hunting scene, your experience was probably exciting and a bit nerve-racking. But now what? You worked hard to catch your quarry. What do you do after you harvest a deer to care for the animal and put it to good use?
A lot needs to be done in the immediate hours after shooting a deer. It’s time to capture your trophy in photos, dress the deer, prepare to wall-mount antlers, and harvest the meat. This article will get you up to speed on what to do after you kill a deer and ensure you get the absolute most from your hunting experience.
Quick Content Guide
- Tips for taking a great photo after your deer is downed.
- How to cape out deer correctly for a wall mount.
- Two gutting methods and which will work best in your situation.
- Links and tips to helpful info about butchering your own deer.
- Redmond's favorite venison recipes to help you savor your harvest
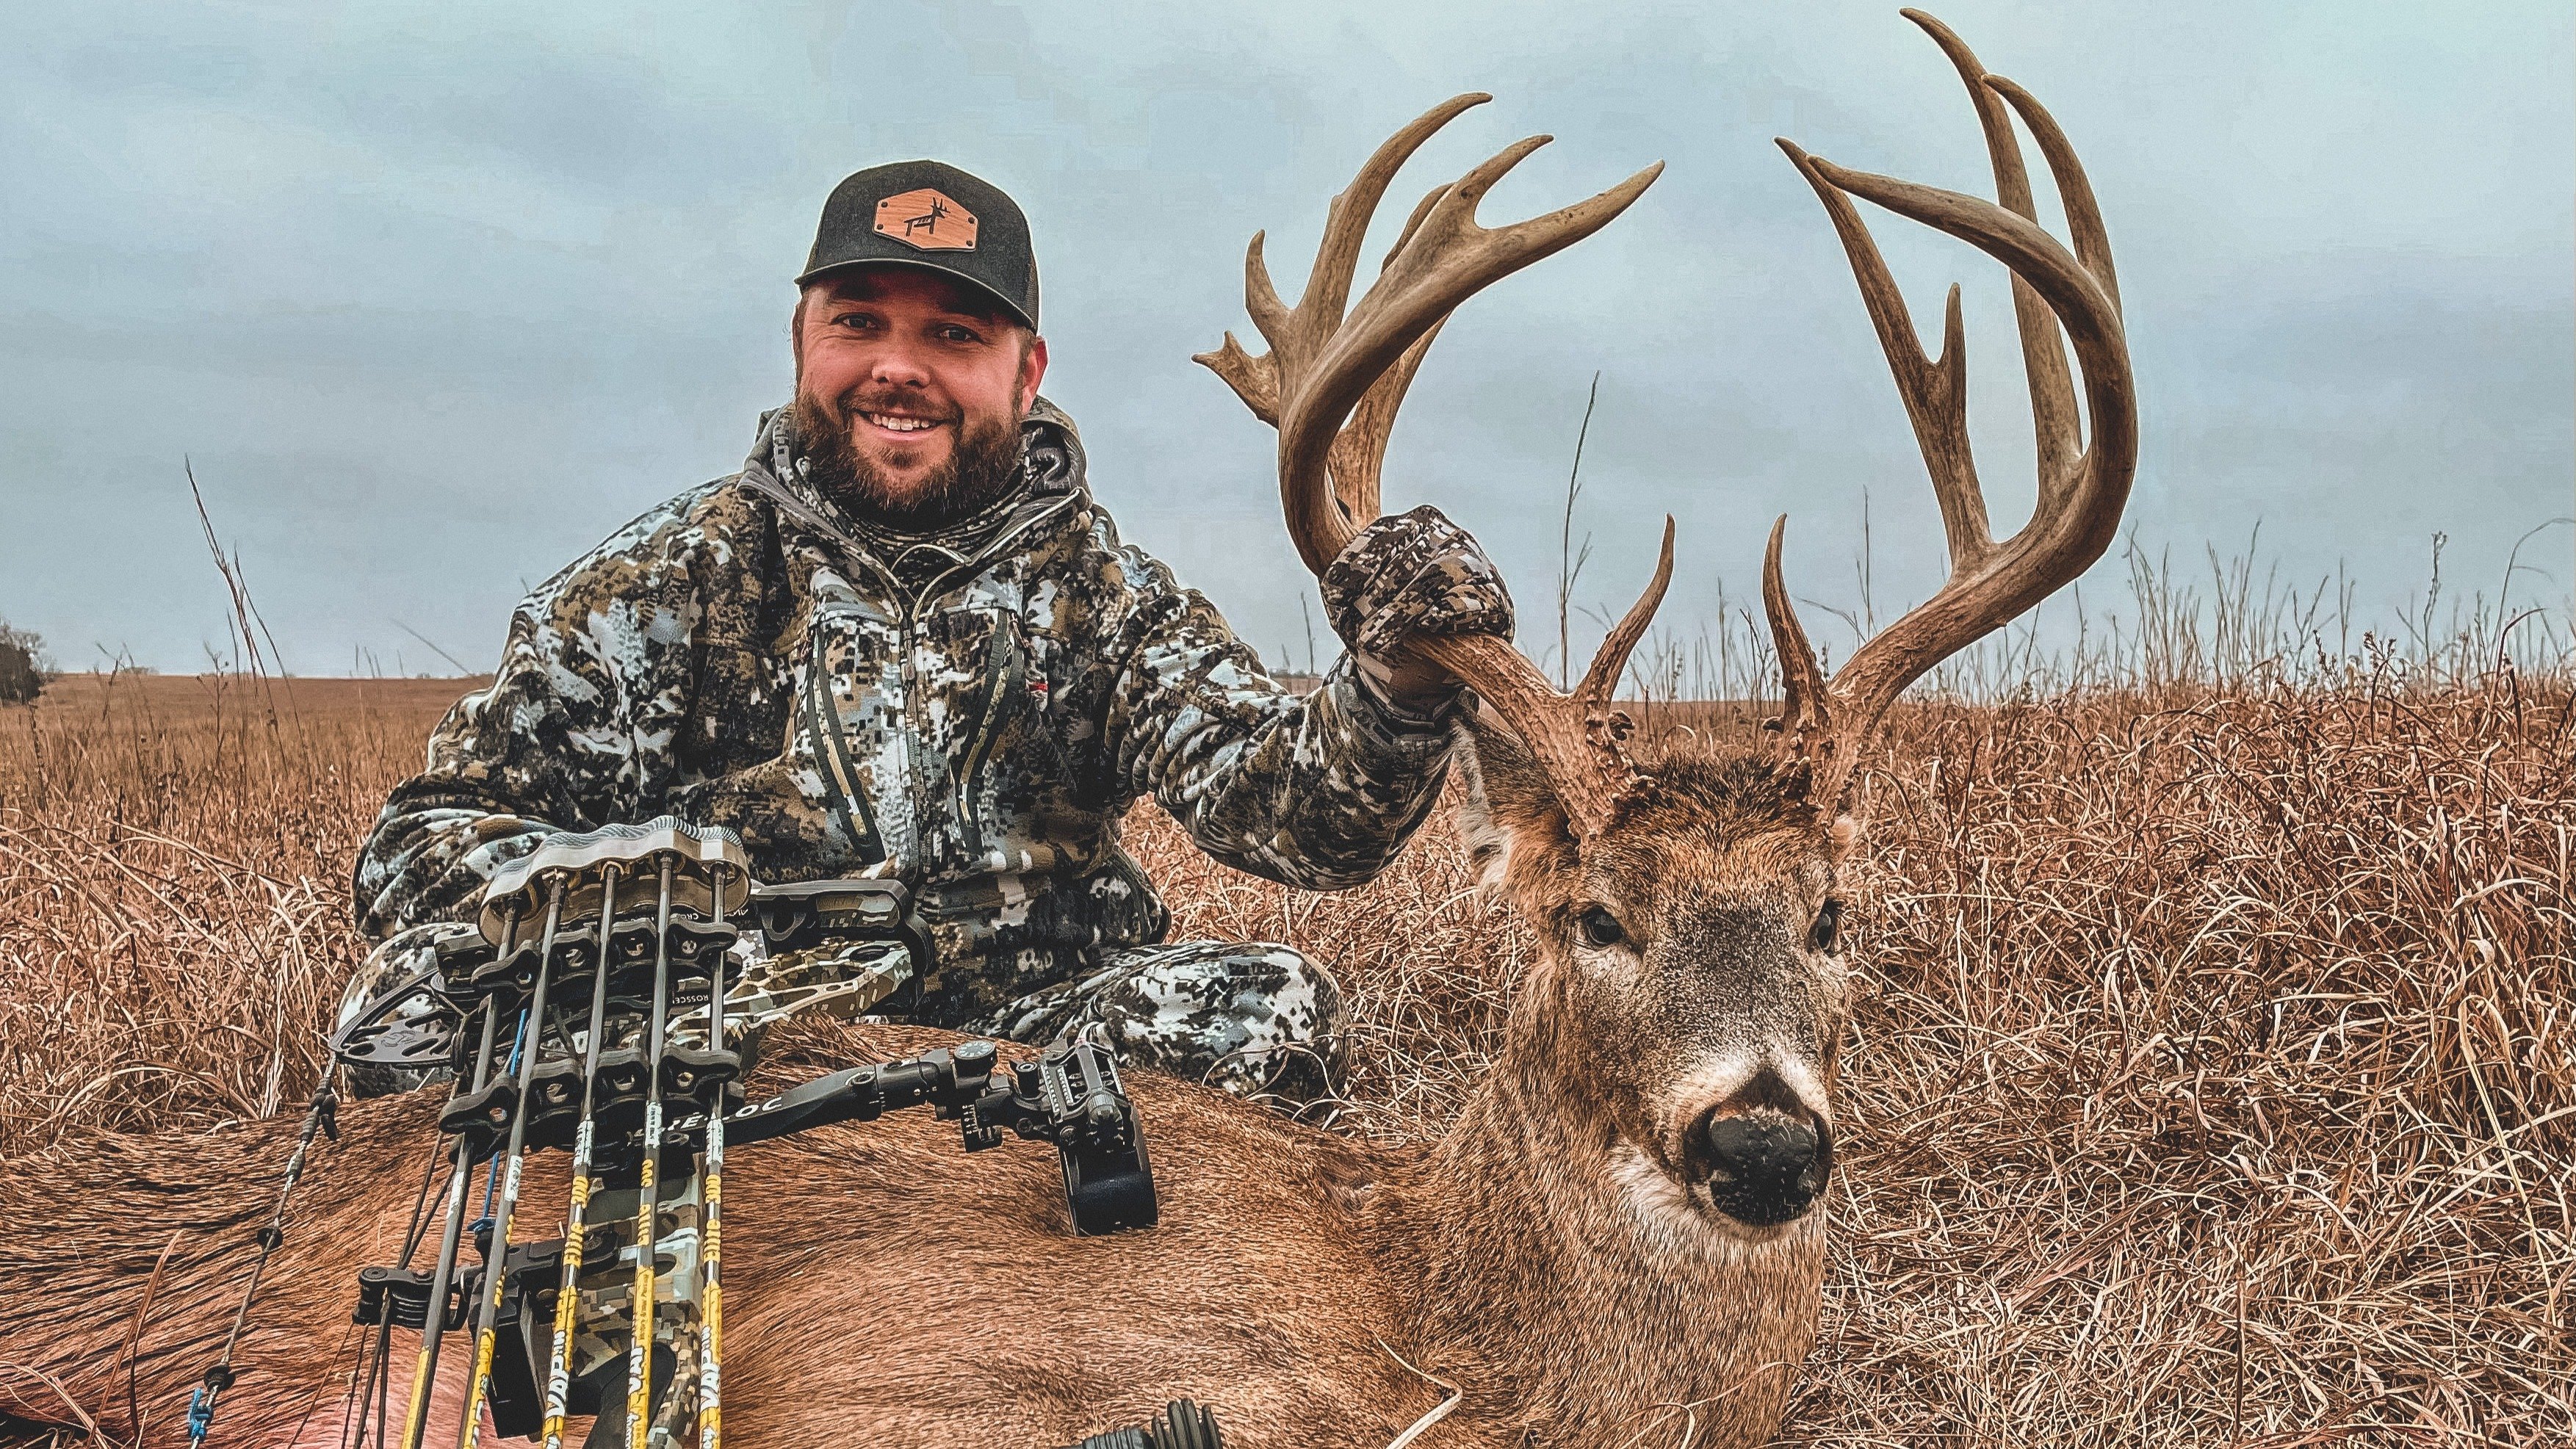
5 Pro Tips for Taking the Perfect Trophy Shot
Not all the sweetest shots are taken from a tree stand or with a scope. Once you’ve downed your deer, it’s time to take a shot of another kind. Our in-house photographer and avid hunter, Skylyn Christensen, gives five pointers on how to take tasteful photos of deer in those exciting moments post-harvest.
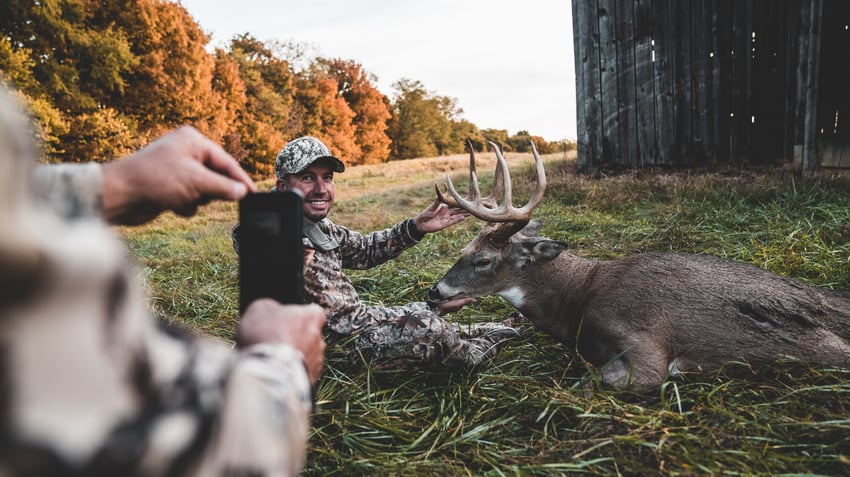
- Camera. Most hunters don't strap on a fancy camera when they head out to harvest a deer. But if a trophy shot is a priority, a 50-80mm lens takes a great pic. If a cell phone is what you’re packing, no problem. Use the tips below and you’ll be in good shape.
- Angle. Don’t be afraid to get creative with top-down shots or side angles. These produce eye-catching photos. If you want to go conservative, place the camera at or just below eye level with your subject to convey realism and connection for the viewer.
- Lighting. Position your deer in the best light, with the sun above and behind him. If the lighting is neutral, find a secluded and somewhat shaded area. If it’s dark, use the flash or an external light source like an LED headlamp or light cube.
- Cleaning. You want to showcase your deer in a dignified way. That means a natural pose, with your animal resting on clean ground. If the deer’s tongue is hanging out, push it back in. Clean off any blood that’s visible to the camera, tuck the deer’s legs, and even up the head.
- Posing. You should always avoid any over-the-top or vulgar positions or expressions when posing with your deer. Hunters should respect the animal and never take its life lightly. So before the camera clicks? Put on a nice smile and stance that represents the animal, and yourself as a hunter, well.
How to Cape a Deer for Mounting
A deer doesn’t have to be trophy size to be worth hanging on your wall. A mounted animal is a story to share and a memory to remember every time you look at it. (Get tips from a taxidermist on caring for your deer to get the best mount.) Caping your deer—in other words, the skinning process—is the first step to getting there.
To create a mount worth taking up real estate in your living room, you need to know how to cape or skin a deer the right way. If it’s above freezing, cape out as soon as possible. Otherwise, complete it within 24 hours of kill. And remember, the quality of your mount depends on how you handle your deer even before it's downed, so aim for a well-placed kill shot.
Ready to roll up your sleeves? Here are detailed instructions on how to cape out:
- Written: Taxidermy: How to Care for Deer You Plan to Mount
- Video: How to Cape a Whitetail Deer for Taxidermy
Once you’ve caped your deer, follow these tips to keep it in top shape:
- Hang the cape by the antlers until you’re ready to transport it to the taxidermist.
- Keep it in a cool dry place, out of direct sunlight and away from heat, water, fumes, and dust.
- Get the cape to the taxidermist within a few hours of caping.
- Don’t let exposed skin and hair touch; it makes for a delicate thawing process later.
- Like you, your deer’s ears and nose are susceptible to the cold, so make sure they’re well protected to avoid freezer burn.
- Fold the cape evenly and flatten out any wrinkles.
- Double wrap in garbage bags and store it in a protected section of the freezer.
How to Gut a Deer
Backstraps, tenderloin, rump roasts—all those cuts you crave begin with properly dressing your deer. So just how long can you wait to gut a deer? The short answer is, not long.
Field dressing or quartering should be done soon after harvest to quickly cool the deer. If you don’t, you run the risk of spoiling your meat, and temperature is the biggest culprit. Bacteria grow rapidly in temperatures above 40°F—and they can double in number in just 20 minutes and have a heyday with your meat. That’s why timely field dressing should be top of mind.
Which method of dressing you pick depends on personal preference. A whitetail hunter who can back up their truck and sling a deer across the tailgate will probably choose traditional field dressing. A backcountry hunter who’s hiking out of a hollow with an animal on their back will likely go with the gutless (quartering) method. Let’s drill down on each.
Field Dressing a Deer
The fundamentals of how to field dress a deer involve slitting the animal’s belly from the pubic bone to the breastbone and removing all the internal organs. It’s the best way to cool down an animal in the field if you’re not quartering.
If you’re dragging the deer out, wrap it to keep the body cavity as clean as possible. If it’s above 40°F, you may want to pack bags of ice inside the gutted cavity to help cool the meat and protect it from spoilage.
Here are step-by-step instructions on how to field dress a deer:
- Written: Field Dressing Your Deer
- Video: How to Field Dress a Deer
Field Quartering a Deer (Gutless Method)
Gutless field dressing, aka quartering, is a relatively new style. It allows hunters to break deer down into manageable pieces and cool it without removing the entrails or exposing meat to liquids from the internal organs.
This method is popular for three basic reasons: it saves time, mess, and still allows you to salvage nearly every scrap of edible meat. Plus, for some hunters it’s the only realistic way to get big game out of the backcountry. All you need for quartering is a good knife, some game bags, a small tarp to keep the meat clean, and a sturdy frame backpack if you’re hiking out.
Check out these detailed directions on quartering a deer—which works the same on any big game animal:
- Written: Elk Quartering
- Video: Field Dressing a Deer: The Gutless Method
How to Process Deer Meat
You’re now ready to butcher your deer and secure the meat in the freezer! So what’s your game plan? Will you do it yourself or send it off to a butcher?
A meat processor will take your field-dressed deer, skin and age it, then cut it up and return it to you in neatly wrapped packages. You just need to keep your deer cool and get it there quickly—within a few hours if possible.
Thinking of processing your deer meat at home? Here are five steps you’ll need to plan for ahead of time:
- Hang and skin your deer in an airy, open space.
- Dry age the carcass or quarters for 2-21 days at a temperature between 34 and 37 degrees. A fridge (with racks removed) or meat locker works great to maintain even temperature.
- Get the right deer meat processing equipment.
- Cut and process the meat.
Check out the links below for detailed info on butchering your own deer:
- Written: Michigan Venison: How to Field Dress, Butcher, Prepare/Cook
- Video: How to Butcher a Deer at Home Economy Style
Did you know? If you don’t have room in your freezer or don’t need the venison, there are some feel-good programs out there to donate your deer meat to and make a difference. Check out Hunters for the Hungry and Farmers and Hunters Feeding the Hungry.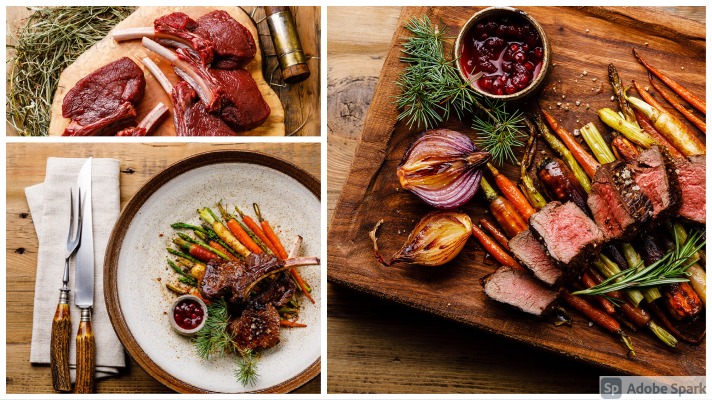
How to Cook & Enjoy Venison
All your hard work has paid off, you have a freezer full of deer meat and a dozen or more ways to use it. Venison is a great substitute for other meats and super tender if done right. If you’re grilling venison steak, serve it while the meat is still juicy and pink on the inside. Going for ground? Venison is tasty in chili, tacos, or meatloaf. Check out our Redmond Hunt venison recipes below for more ideas!
- Sweet and Spicey Smoked Venison Jerky
- Savory Dutch Oven Venison Stew
- Lights-Out Venison Kielbasa, Potatoes, and Sauerkraut
Part of the awesomeness of hunting is seeing the process through full circle, from scouting your deer, to harvesting, to saving and aging the best cuts of meat. It’s the ultimate field-to-table experience. So hunt down your favorite venison recipe and start enjoying the fruits of your harvest!
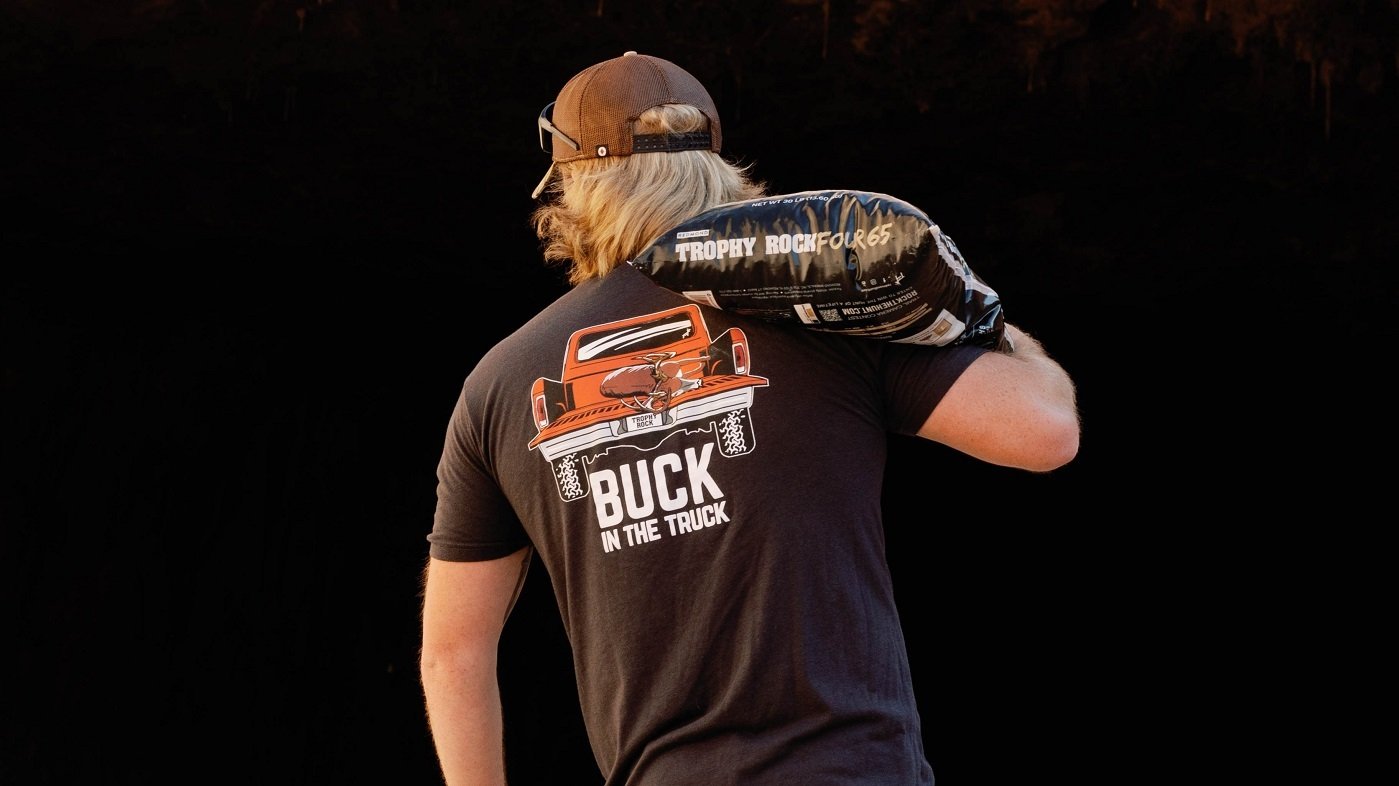
Did You Know? Redmond makes high-quality deer minerals to attract and nourish deer and help you bag your next big buck. Click below to head to our store and learn about our natural deer mineral licks, liquids, and attractants.

© Redmond Hunt 2023. All rights reserved.
.jpg)